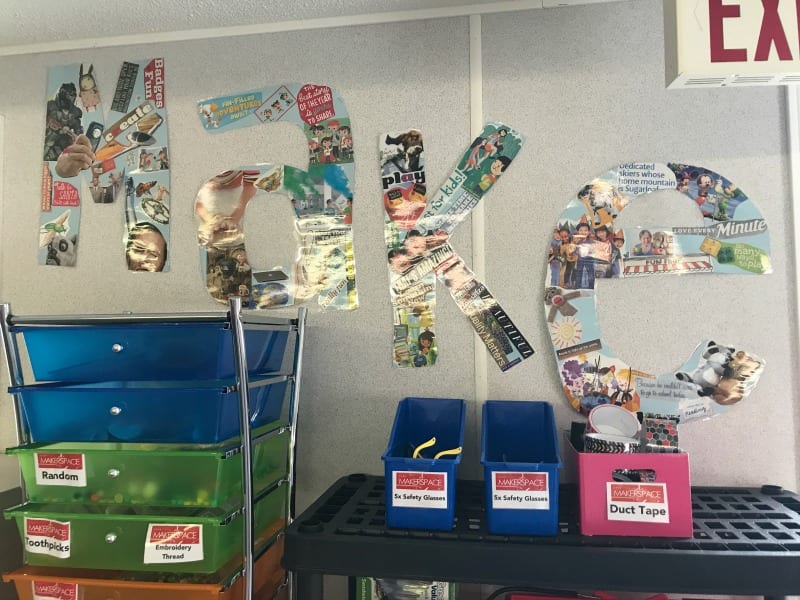
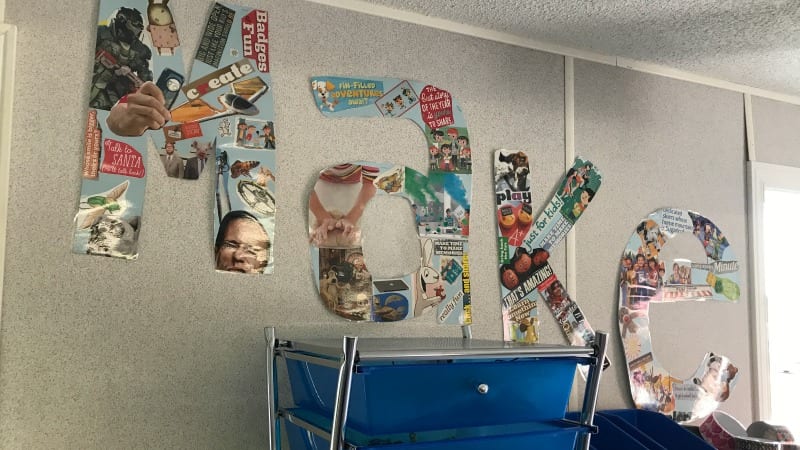
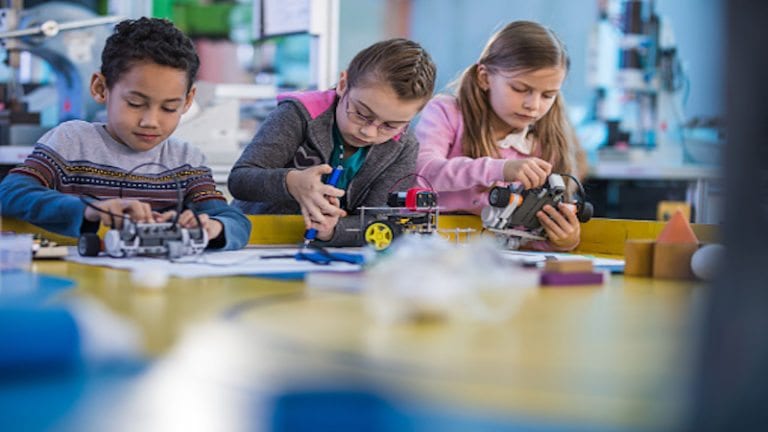
Makerspaces are becoming a hot button draw in schools, as they should! A makerspace allows for students to take risks and be creative. But the price tags of elaborate 3D printers, coding robots, circuit sets, and coding systems can make a makerspace seem unattainable. With budgets being squeezed to the last penny and wanting to bring this mindset to my district, I figured out how to start a makerspace for less than $20 in my school. Here’s how you can do it, too.
How to Start a Makerspace in Your School
STEP 1: Upcycle!
Check with your school’s maintenance department. The odds are that there is a closet or room where “equipment” goes to die. Look for:
- Desks
- Filing cabinets
- Shelving
- Peg boards
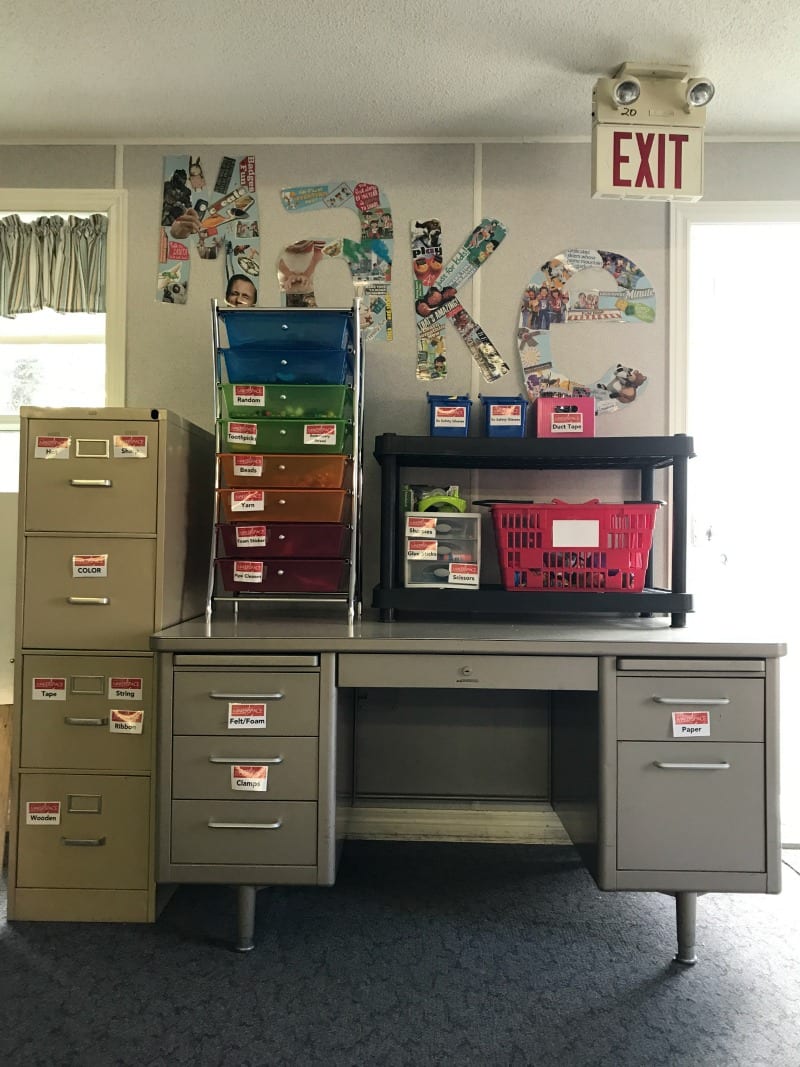
For my makerspace, I used an old teacher’s desk and a filing cabinet. You can find some really creative filing cabinet ideas out there, including ones that have been covered and painted.
I was also able to find an old bookcase to add to my makerspace. It was just the bottom part, but it works for my needs and is great for shelving. You might also want to look for old bookcases that you can back with peg boards. This makes for a very easy way to store and display tools. 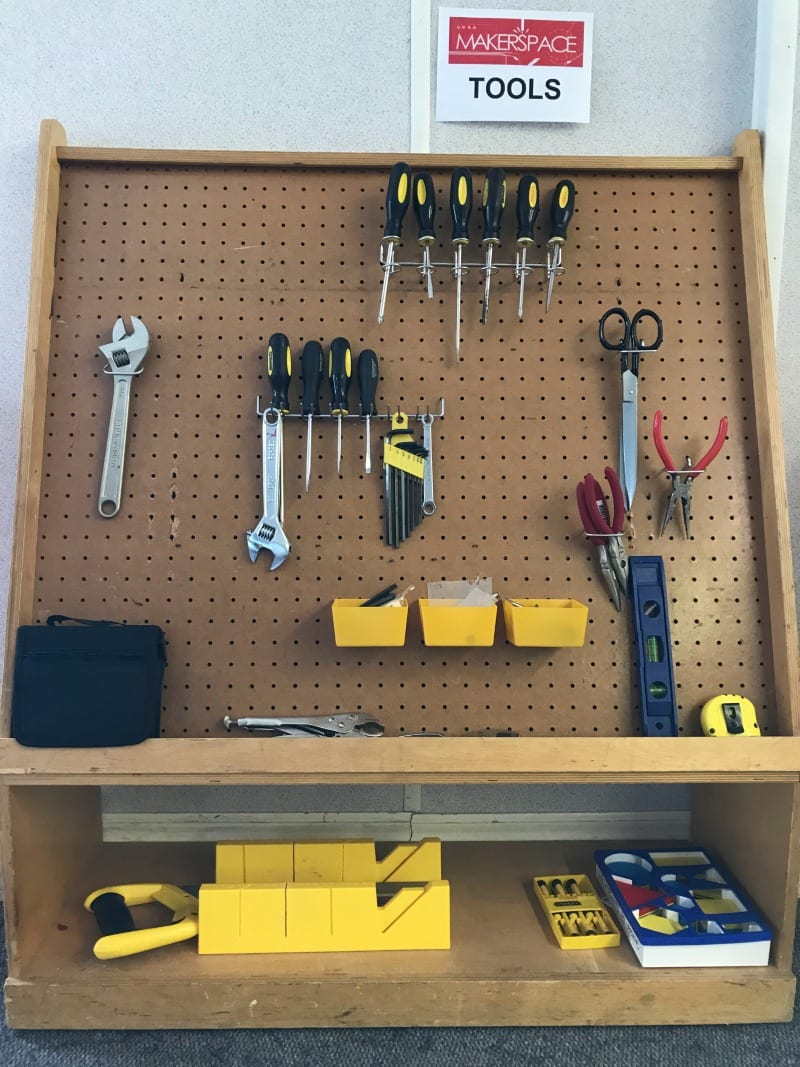
STEP 2: Find Deals!
Think extreme couponing … makerspace style! For storage, keep an eye out for open boxes or clear containers. You can look at stores with dollar sections for inexpensive storage options. I used some $1 fabric pop-up containers and printed labels for them. I believe one of the key parts of a successful makerspace is to use LOTS of labels.
Hardware stores are always good places to find deals, and they often give out weekly coupons for toolkits, batteries, lights, and more for free with purchase or completely free. Maximize on these opportunities. I even sent out email blasts to parents asking them to use the coupon and pick up an item if they were in the area.
Also, ask these stores if they have safety glasses. Go ahead and play the “teacher card,” because you might even get some for free.
Even if you have a big purchase to make, don’t get discouraged by price. I had my eye on a big multi-drawer station, which has been amazing for my makerspace. I purchased mine at a national arts and chain craft store with a major discount coupon plus my teacher discount. This made it really affordable! 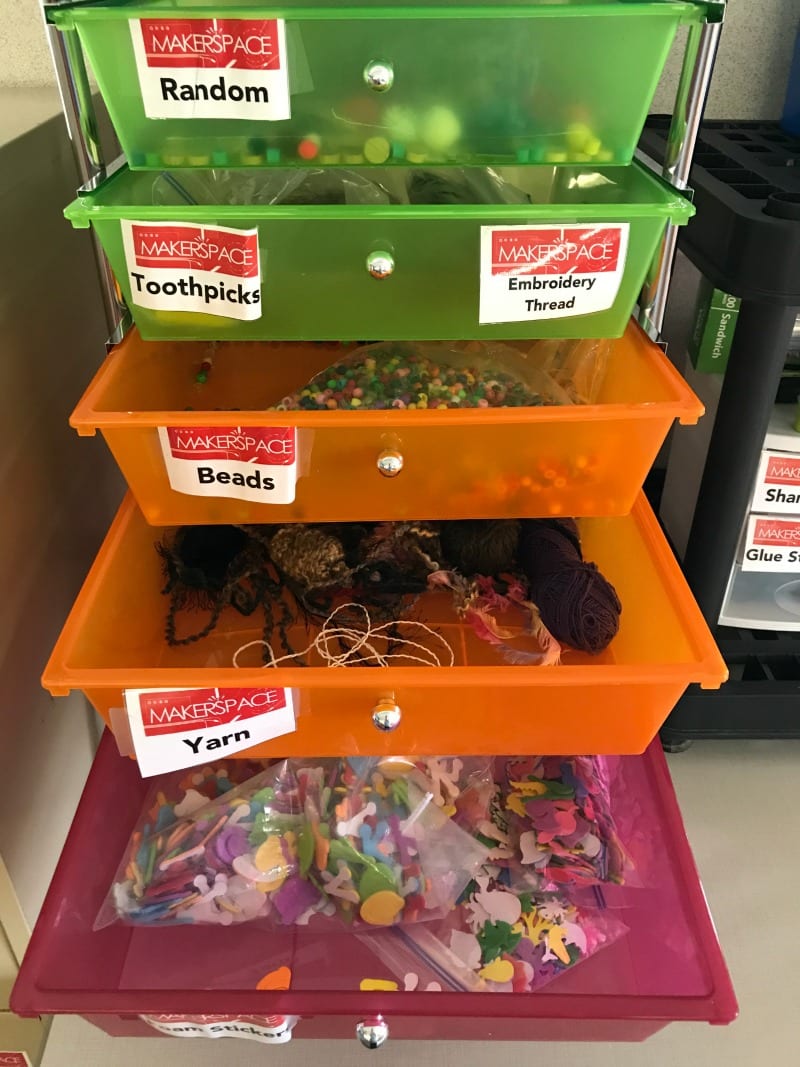
STEP 3: Beg, Borrow, Shop
Before you go shopping, send out emails and letters to your colleagues and parents. You might be surprised what will get donated! Sometimes providing a list of what you are looking for will help spark ideas and donations. Here is a sample letter for inspiration.
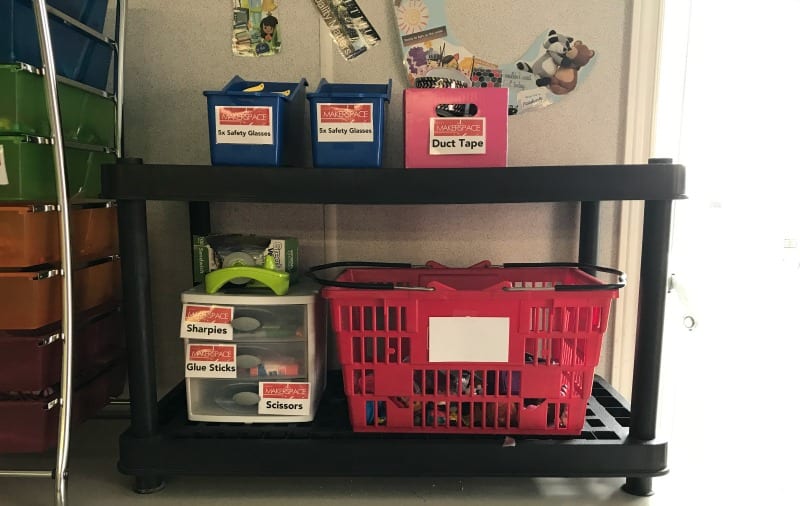
Once I see what has been donated, I then stock the space with other essentials that are common in the school. Anything that’s not available in school can usually be purchased at the dollar store. Here are some of the items that are critical to a makerspace:
- Tape like Scotch, masking, clear, packing
- Scissors
- Stapler
- Glue sticks
- Construction paper
- Pipe cleaners
- Pony beads
- Pom poms
- Duct tape
- Hot glue guns and glue
- Embroidery thread
- Foam stickers (shapes, letters, animals)
STEP 4: Make and Create!
Now that you have your makerspace, it’s time to make and create! And be sure to share—I had a makerspace open house in my classroom, which was a great way for parents to see it in person.
So what will your class create? And how will you use your makerspace in your curriculum? Makerspaces should not always have an actual product in mind, the thinking and creative process are what the makerspace is all about. Putting together this makerspace in your classroom will allow for students to explore and discover.
Makerspaces make creativity a win-win—a win for the act of creation and a win for using creative thinking to adapt a creation to the world.
