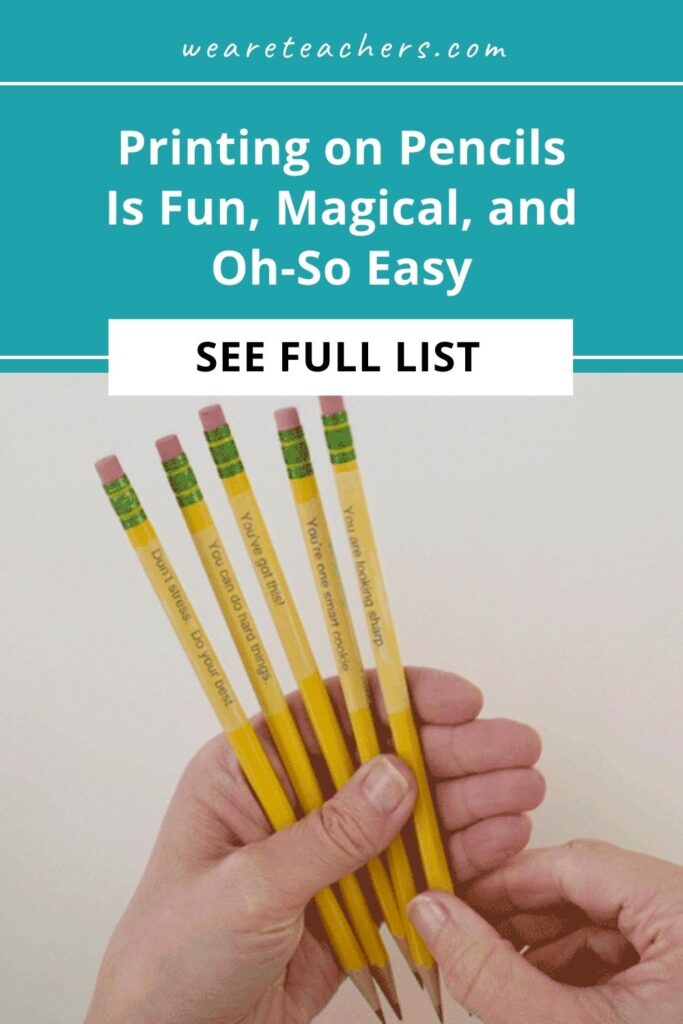
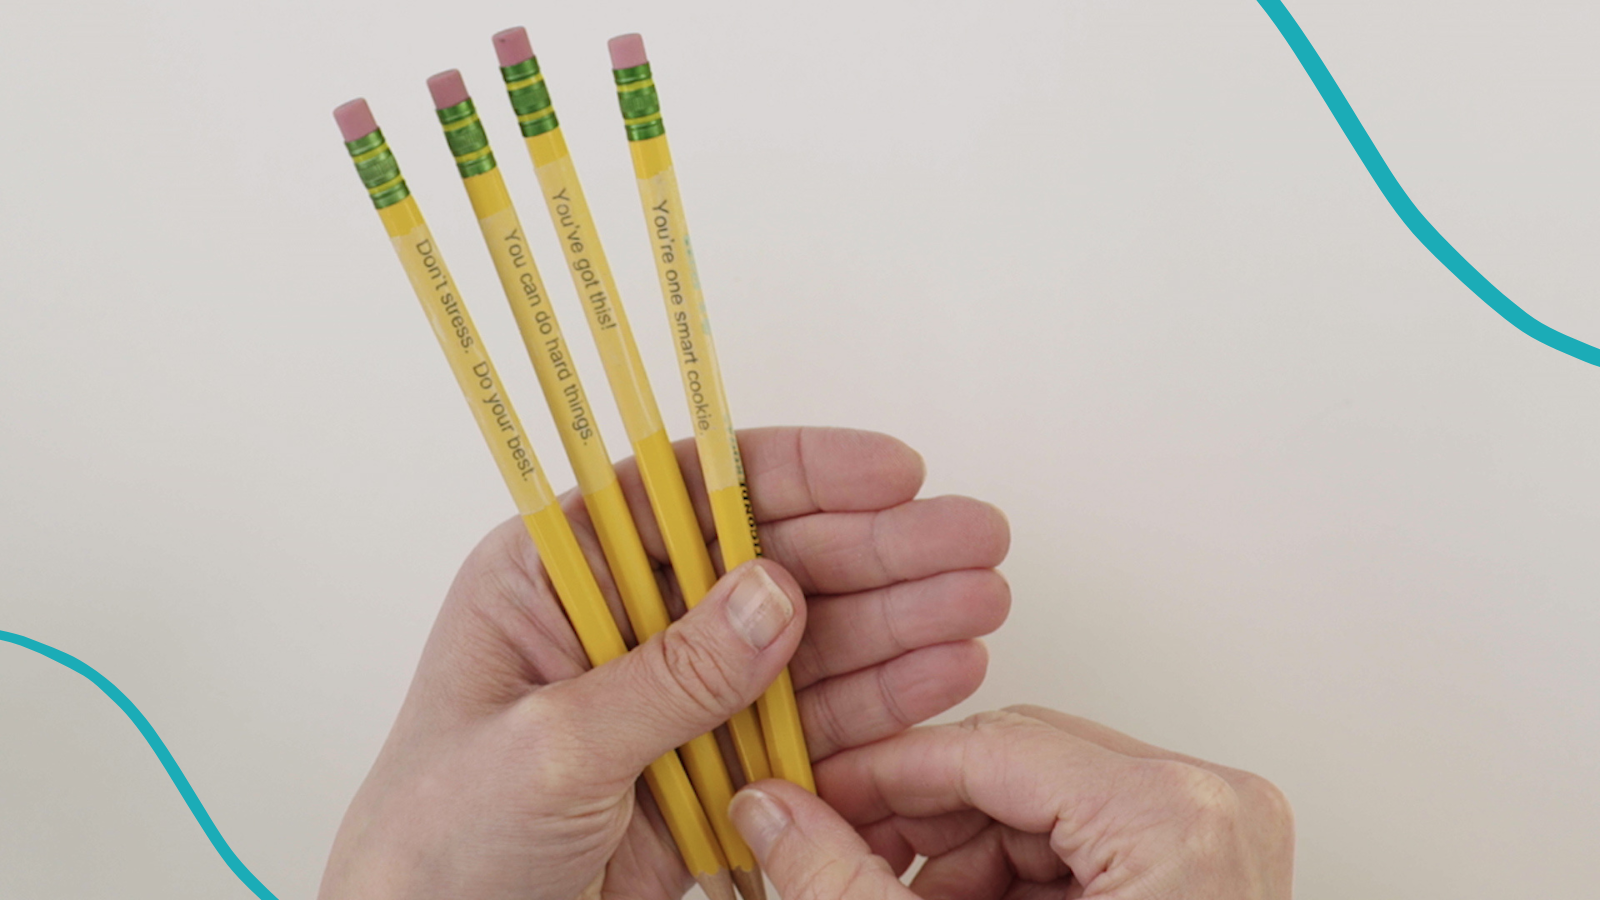
Custom and personalized pencils are the best. There’s no better way to keep track of those precious Ticonderogas than printing names on pencils. Want to highlight your love of books? How about personalized pencils for teachers that say “I’d rather be reading”?
Yet custom-printed pencils with your name or other sayings can be expensive and hard to find. So we were incredibly excited to learn about a much cheaper—and easier—way to print on pencils. No special pencil printer required!
We created these pencils specifically for testing day. We focused on positive, affirming messages, like “Don’t stress. Do your Best.” and “You’ve got this!” to help students feel confident and ready.
How To Personalize Pencils
Get our instructions for how to personalize pencils below. Or watch the video right here.
What You Need
- Printer
- Paper
- Ticonderoga Pencils
- Clear tape
Create clever, cheerful messages.
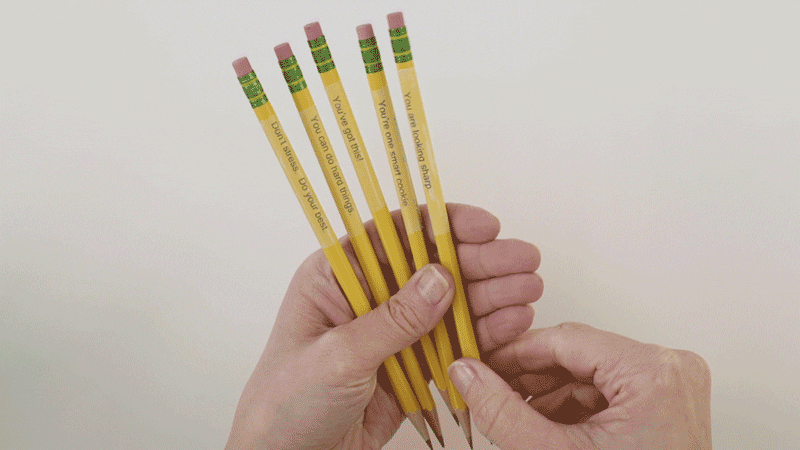
This is the fun part. You can come up with messages for any theme or occasion you’d like. You could even make students their very own personalized pencils with their names. Here are some of the messages we put on our pencils, designed to be used by students during testing:
- You’re one smart cookie.
- You are a rock star!
- You are looking sharp.
- Expect the best.
- Don’t stress. Do your best.
- You can do hard things.
You could also use this as an excuse to get your students involved. What positive messages can they come up with to encourage kindness, a love of reading, etc.? You really can choose anything, but short messages work best.
Type out your messages, leaving plenty of space between each one.
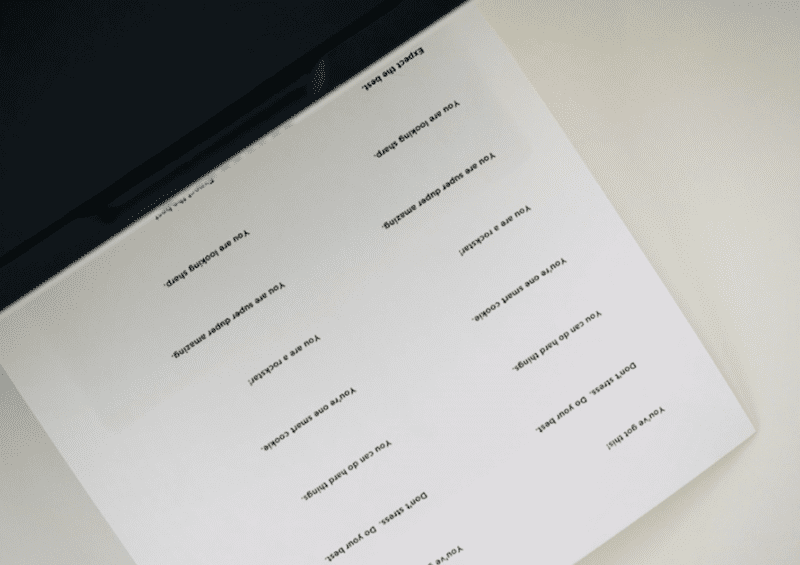
It might take a little trial and error to figure out how much space you need. We created a document, using two columns. Then we put about six or seven spaces between each message.
Be sure to choose an easy-to-read font that isn’t too big (Arial, 11-point font worked for us). If you print it and it looks bigger than the width of your tape, then resize.
Ready? Hit the print button!
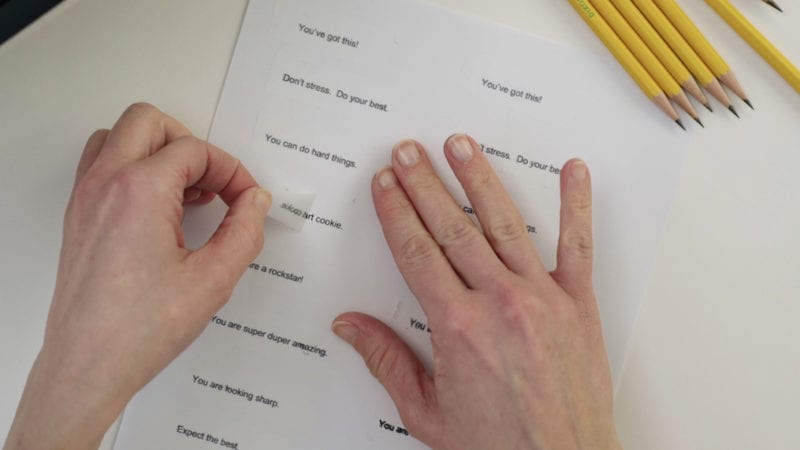
Once you have your spacing all set, it’s time to hit the print button. As soon as your page comes off the printer, cover the messages with clear tape.
This is an important step. You don’t want to wait too long because the ink on the paper will dry. Press for a few seconds and then lift the piece of tape off of the paper. Your message should come with it!
Put the message on the pencils.
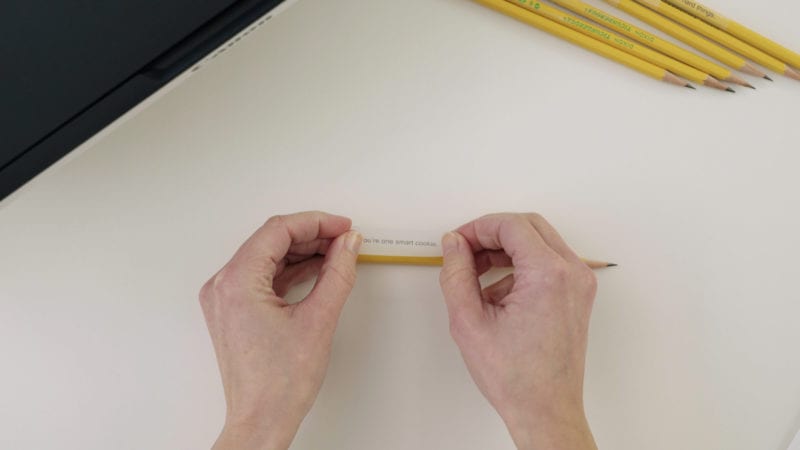
Make sure that your messages lifted off clearly and neatly. If not, try again. (Some printers will have ink that is easy to lift off, while others will be more challenging.) Finally, press your message onto the pencil, smoothing it out as you go.
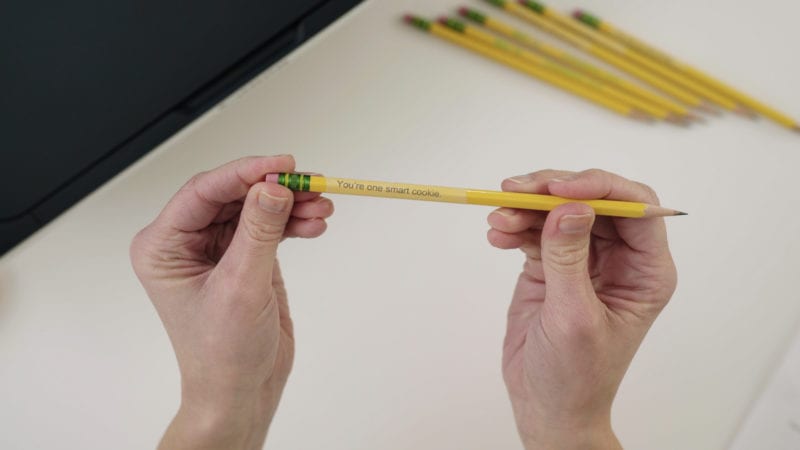
What creative phrases do you think would be perfect for printing on pencils? Come share in the comments below.
Plus, how to print on Post-it notes.
